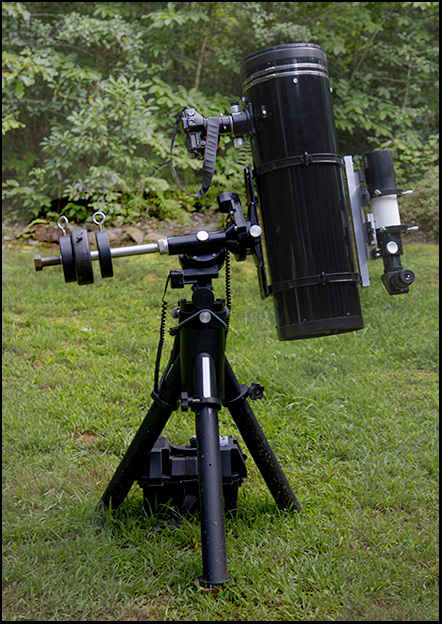
8/14/2014. Another clear night good for more sky trials of the resurrected 10-inch Newtonian. See previous page for What Has Gone Before. I tried a different extension tube which required minimal refocusing and seemed to hold the camera more solidly and possibly more squarely.
I still see some miscollimation in the differences in aberrations across the field. CCD Inspector concurs. I mounted the 80mm Shorttube alongside. With a 16mm eyepiece it's a 25x80 finder. It's auditioning for the job of guide-scope, but I believe it will prove to be overqualified. With some counterweight adjustments, everything balanced well and worked smoothly. Here's the best effort of the evening:
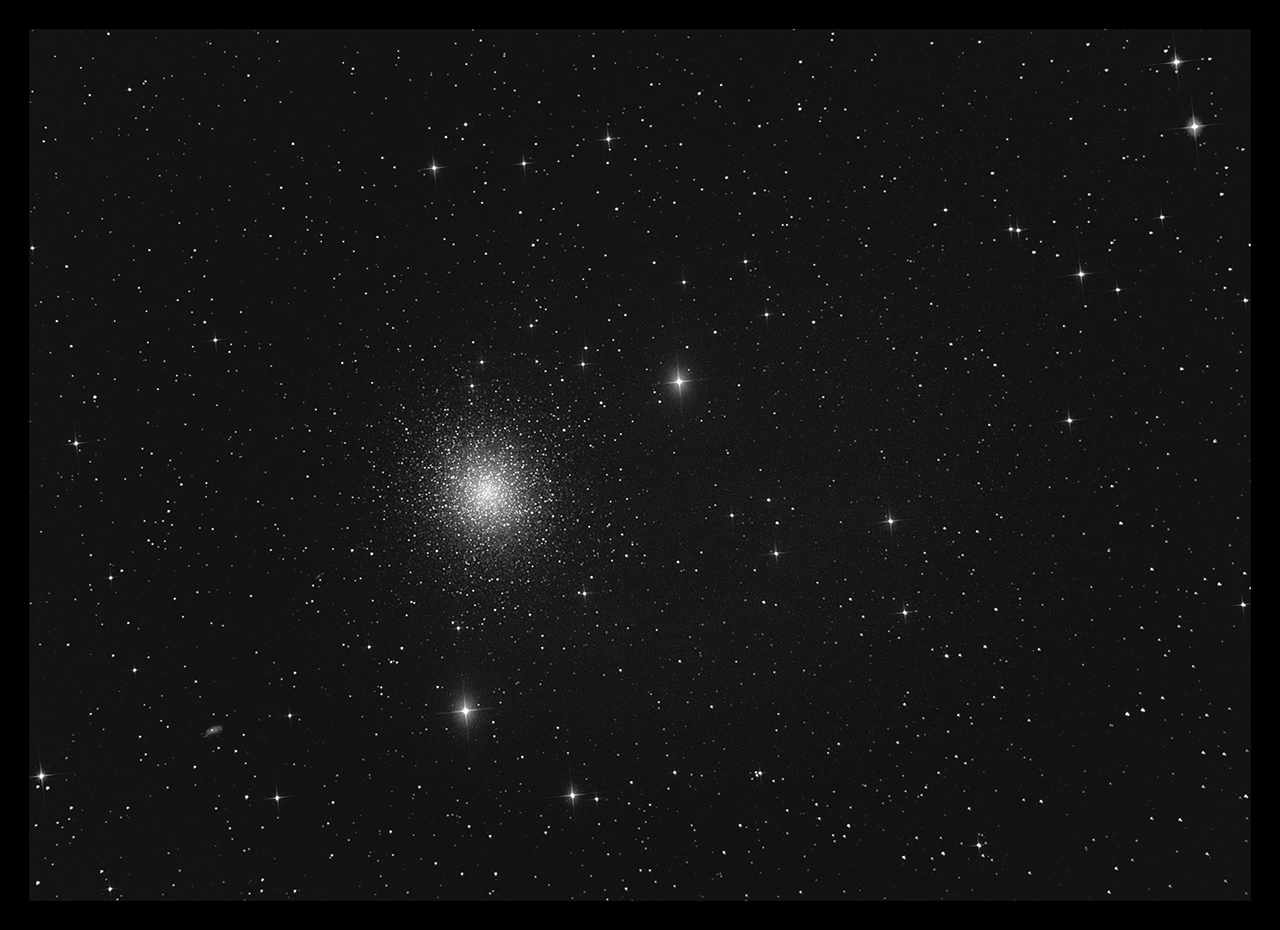
M13
20x30s, Canon 6D, ISO 3200 (10 minutes total)
10" F4 Newtonian, MPCC MkIII
Click the image!
That's focused with the R-C's Bahtinov mask, calibrated using flats (average of four frames) and darks (average of eight frames). I tried various permutations of Maxim's parms, but the best results came from processing the darks and flats with "convert color" UNchecked. I processed the lights both ways, but I think UNchecked produced a cleaner image. If you want color, add it back via Photoshop and a tiff or, if you want to suffer for your art, via individually processed planes. [14 months later, I've got a much better workflow for this. Clicketh.]
In the throes of processing last night's images, I ordered a Cheshire collimating eyepiece / sighttube from Agena. This morning I used the lathe to make a precisely centered peephole. I used the peeper to verify that the secondary is well placed under the focuser and that the focuser is reasonably square. I used a laser to adjust the secondary (twist the spider's push-pull screws until the red dot lands inside the center mark on the primary) then the reflection of the laser to adjust the primary (tweak the knobs on the mirror cell until the laser beam bounces back into the laser's output port). What looks like dead-on collimation took a leisurely fifteen minutes with time to get a cup of coffee into the bargain. This is why the Newtonian has it all over the R-C for a travel 'scope. I confess that I no longer remember why the Cheshire seemed critical. It was cheap and will be useful as a quick reality check.
It's obvious that guiding isn't really necessary for 30-second subexposures on an FX-sized sensor when polar alignment is at least passable. Get this kit out into the dark where 300s subs make sense, and things will be different. I'm still thinking about what to do about finder/guider optics.
8/15/2014. A Bahtinov mask for the Newt to call its own and a 50mm guide scope with no R&P, Crayford, or helical focuser will be here shortly. Once focused for the ST-V, one need only mark the spot with the included parfocalizing ring and call it done, so why pay for adjustability? It may yet need an extension tube, but one thing at a time.
A guiding EFL of ~160mm will be plenty (and barlows are all over the place if I need more). Also, the stalk-mounted guider will share the tube's motion rather than the rings'. This has been a big topic on the A-P groups of late: the guide 'scope needs to track with the imaging OTA, not with the mount or with the clamp rings.
A surprise rain shower about 11 PM sent me scramblng to cover both telescopes. I hustled the new-to-me Telegizmos 365 Dob cover out for the Newtonian. It didn't fit worth a damn, but it served during this brief, sometimes pounding shower. There's plenty of fabric. Think about tailoring it. [In the morning, I tried dismounting the Newt and standing it beside the G11 then covering both. Works fine. That's quick and easy.] Satellite images said the skies would soon clear, and sure enough, at midnight or a few minutes after, 2nd magnitude stars appeared. I wasted no time focusing on Vega with the R-C's borrowed mask. Then I took a few exposures to inspect star images across the frame before covering everything up again just in case more surprises were drifting down from the mountains.
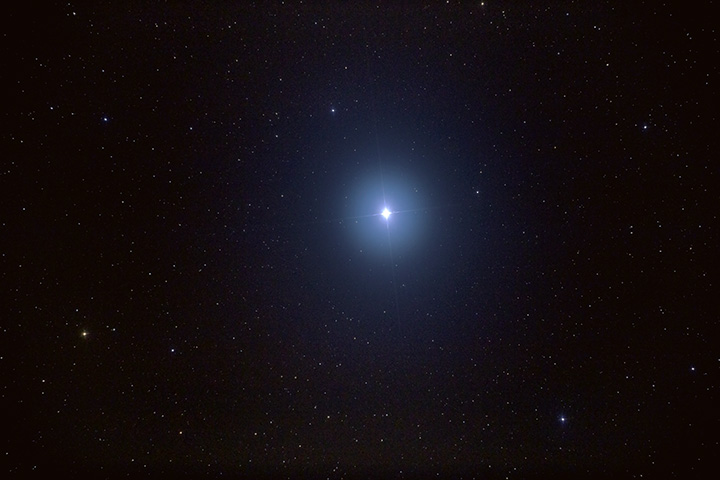
Vega through the raindrops.
12s, ISO
3200
Yes, I do know that image is too small to judge.
As suspected at F4 (excuse me, at F3.96), collimation is everything. After today's alignment fest, I see much cleaner images from wall to wall. They're not perfect, but they're vastly improved. Aberrations are at least approximately symmetrical around the center of the field. Maybe the spacing from the MPCC to the sensor needs a slight adjustment. It looks good.
Here's a source of relatively cheap bolts: www.fmwfasteners.com. Note that there's a substantial price break at 100 units and free shipping at just $25. Restock the shop and stop wasting so much time looking for bolts and nuts and washers. And move the CG in. Now get some sleep.
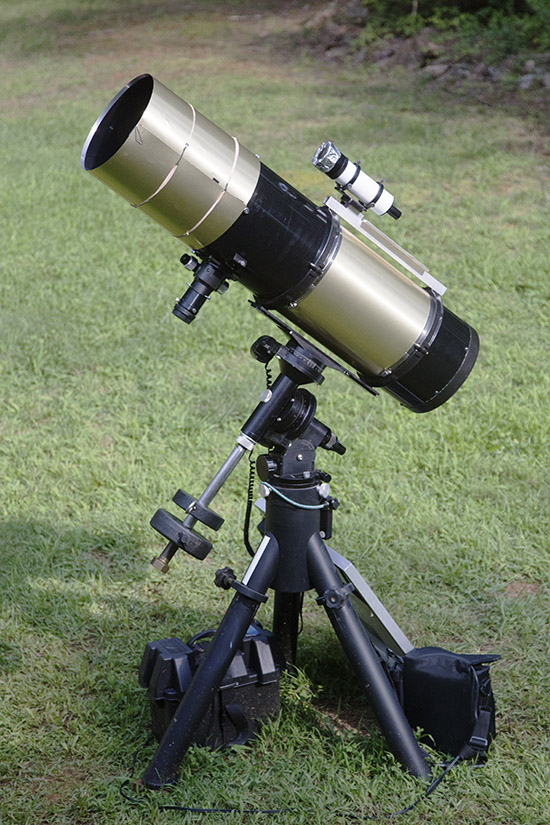
8/16/2014. Remove the OTA from the cradle to store it. That's much easier than sliding the loaded rings out of the Losmandy saddle and far, far easier than putting them back loaded. I made a dew shield from aluminum flashing lined with Protostar self-adhesive paper. Not the best job ever, but it'll do. I had a lot of flashing left over and it fit between the rings perfectly, so I wrapped it around the middle of the tube 1) to keep the tube from sliding in the rings should they ever loosen, 2) to guide where, exactly, the tube goes within the rings, 3) to shield the black-painted steel tube from the heat of the Sun, 4) to provide a kind of poor-man's rotating ring assembly, and 5) to look really cool. It's a big, black telescope, and the flashing has a brass finish. Nothing is more telescopy than brass; only a steam-driven clock drive would be cooler.
The dew shield was working flawlessly when I took the kit down under very humid conditions about 11PM. There was not a bit of haze on either mirror. (Storage: will the unrolled dew shield hang inside the wardrobe in the RV? Inside the bathroom door? Or roll it up tight and let it take a curve?)
I took the Shorttube off its bracketry and returned the 9x60 finder to pride of place. The 50mm guider will go beside the focuser. I left the homemade D-plate in place as a grappling point and as a ready platform for who knows what. So, that picture up at the top of this page? It's not so current.
Uncovered, reassembled, dewshield in place: 4m30s, no hurry and with some missteps along the way. That will do. Try removing the rings before covering the G11; the narrow telescope cumberbund should go on and off much more easily with no risk to the lining of the cover. Note the 11-lbs lighter counterweight load with the Shorttube 80 out to pasture. That underscores the importance of lowering the tube rings even a little by removing the 1/4-inch risers I have under them at the moment (or not; see below). Oh, and the fan behind the mirror needs to be moved out from the glass to let air circulate [done, a bit; I removed the protective cage and used the room thus purchased to insert spacers beneath the bolts holding the fan to the mirror cell; there's still not a lot of room, but there is some; by and by use longer bolts -- #8-32 I think -- for a little more space, and put the cage back; OK, as you were].
If you search long enough in our basement, you'll find at least one bolt for any purpose. Once I found one, I needed another. Kept looking. Foung another. I'm not sure how many times this process can be iterated, but if the first claim is true there should be no limit. With two shorter bolts in hand, I remounted the rings without their risers -- to no discernable effect. The CG did not move appreciably.
8/20/2014. I whittled down a Bahtoniv mask made by Farpoint for a 10" Meade using the table saw, a pocket knife and an orbital sander (if I'd had access to a CNC plasma cutter, I'd've probably used that, a shoehorn, and a set of Ginsu kitchen knives, too). I just needed to bring its diameter down by a few mm and didn't it turn into a show. But I got it done without serious injury. The Agena 50mm guider has found a home in the 10" Newt's existing mounting shoe; it's solidly mounted, but fortunately the sky is cloudy tonight. Fortunately because I am concerned with the polarity (center negative) and power draw of the ST-V. I'll get it focused and learn it's ways in the back yard using it's AC adapter, then I'll put together a 12v cord for it, marked conspicuously for its use only. Two voltmeters (one for here, one for the RV) are on the way as is big Velcro for the dew shield. I just don't want to start that fight today, and clouds give me a perfect excuse not to. I used the Cheshire/Sighttube to touch up collimation of the the primary -- only a tiny tweak from the laser-defined setup a couple of days back. I have no reason to think this is really better, but I want some images to compare so I'll know whether this, too, is a satisfactory method of alignment.
8/22/2014. Shrink-wrap and an assortment of 12v pieces produced a pair of cigarette-plug cables. I improved the (center-positive) G11 cable with shrink-wrap and built a new (center negative) ST-V cable. I'm not convinced the latter is particularly durable. I had no soldering flux and the solder alone would not cling to the spades on the wires of a cigarette plug; I crimped the spades around the undersized insulation of the fine (AWG 24? smaller?) wires, twisted the conductors around the shanks, and applied shrink-wrap, but I would feel better with molten metal in the picture. On the way to getting all the pieces together, I replaced a bunch of fuses, some blown, some not, with much heavier versions. I have a length of brass tube set aside to be cut into non-fused linkages should it be needed (well, they won't be "non-fused" so much as fused for a helluva lot of amps).
8/25/2014. Mighty Velcro is in place, and so is the dewshield. The new strips are 2-inches wide 13.5-inches long. You could just about swing from it. I'm still reluctant to fire up the ST-V and get down to brass tacks learning its ways. Maybe after the first of the month.
A sparkler of a night means time to test and practice. The G11 cord was the one that failed! That was not a link I thought about twice. As midnight approached, I recut and resoldered its wires. Once again, I could not get plain solder to work ("Classic 60"), but this time I found resin-core solder hiding in my warren. That stuff worked like a charm. By and by I need to rebuild the ST-V cord using it. Those cords are such a critical (and inexpensive) part of the kit that a stash of four 7A cigarette-to-5.5mm cords is enroute. I'll reverse two of them for the ST-V and then we'll have reliable spares for everything.
I shot unguided frames of Deneb (because it was easy) and Sadr (to see how well or poorly the 6D responds to H-a light).
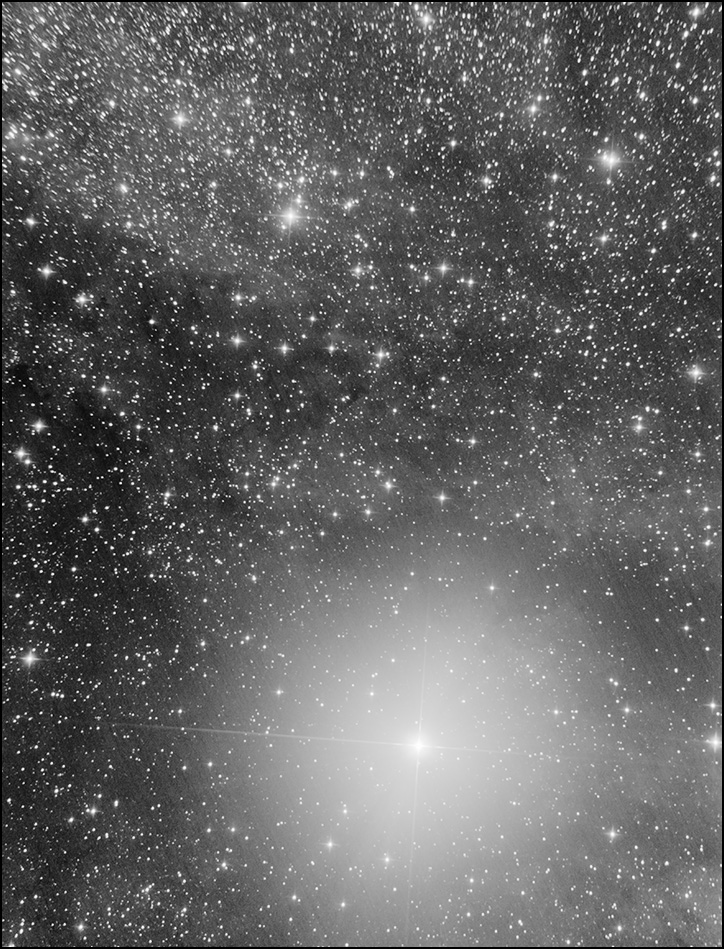
Sadr 72x30s (36m total)
1 flat, 24 darks
6D, ISO 3200 (cropped)
10" Newtonian
Twenty-five 30-second exposures of Deneb reveal (just barely!) some of the subtle Lynd's Dark Nebulae (LDN) in its vicinity. There's more happening around Sadr, but the H-a emission comes up weak (as expected, but hey, I might have been surprised). Look at that starfield though! The sky hazed over by the end of the sequence, and that's where the oversized bloom around Sadr comes from. As for the nebulae in this part of the sky, I'll try the modded 50D with an H-a filter when I am over my love affair with the 6D's wide, quiet field. That said, the Sadr image is cropped to remove much field rotation / coma which is much more dramatic than in the shorter Deneb image (which is why I think it's field rotation). There are subtle streaks in all of tonight's stacks. I think they are caused by my imperfect flat (just one, and too dark). Experiment with different ways of unpacking the data for all images --darks, flats, and lights. I need to be more systematic about that than I have been so far.
To review: the Bahtinov mask works perfectly. The dewshield is a success. If the G11 is all it's powering, the Kendrick battery is very durable. Aim the 10" at the zenith, focuser on the mount side of the tube; insert camera in its "natural" orientation perpendicular to the OTA, and that's N-S along the long axis. I am going to miss the Go-to features of the Mach1 -- maybe the ST-V display will suffice for use as a deep finder (its field at 162mm is similar to the 6D's at 1000mm); maybe I'll put encoders on the G11 at long last; maybe lots of things. Maybe I'll relearn star-hopping.